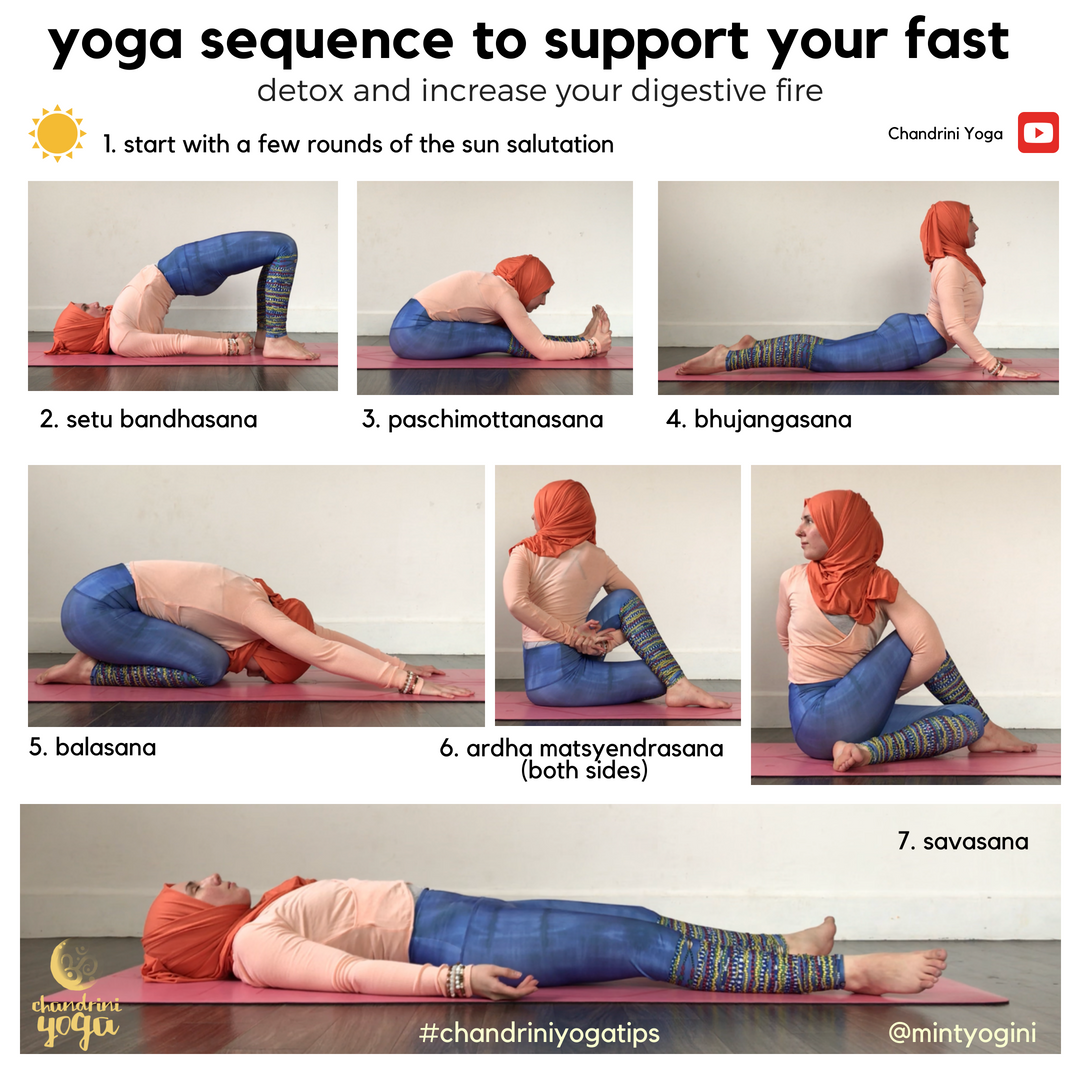
yoga sequence to support your fast
/While the body adjust to long periods of fasting, such as Ramadan, it is very common to experience a variety of symptoms that may include lethargy (from staying up during the night, or waking up in the early hours to fuel up on food and fluids before fasting again), stiff muscles and joints, cold limbs, and digestive ailments, either from overindulging in nutritionally poor snacks at nighttime or from lack of fluids.
This sequence, explained in detail below, has been designed as a way to wake up and energize the body; and stimulate the digestive system in a dynamic and effective way that is still gentle and not overly demanding. Because all the poses feature tone and massage the abdominal organs, it is ideal for both those that are fasting for long periods of time, and also those who, though they may not be fasting, would like to give their digestive system a little boost.
Bear in mind that the sequence is meant to be performed mindfully and you shouldn’t rush through the poses, which are to be held anywhere from 10 breaths to 3 minutes, according to your capabilities. The full sequence can be performed at a slow pace in 30 minutes -- and you can give yourself as long a savasana relaxation as you’d like!)
Detox and increase your digestive fire with this sequence
1. Sun salutation
The sun salutation is great to stretch, loosen up, and energize the whole body, which makes it an ideal sequence to start any yoga practice. Head over to my YouTube channel to learn how to practice the Classical Sun Salutation, and start your sequence with a few rounds, which can be as little as 3 or as many as 10 or more, if you feel like it. Even on days when you’re not feeling like it, just the Sun Salutation is a great practice in itself, and I can guarantee that once you’ve done a couple of rounds, you’ll feel more awake and ready for a full practice!
2. Setu bandhasana
After you finish your Sun Salutations, lay in savasana between 30 seconds to 1 minute or, if you’re heart rate feels a bit agitated, until it returns to normal. This is a sequence that you want to perform gently and mindfully, so your heart rate should remain stable at all times.
To go into the pose, bend the knees, bringing the feet close to your buttocks. Keep the knees and feet hip width apart, toes pointing forward. Extend the arms by the sides of the body, palms facing down. On an inhalation, lift your hips of the floor. You may keep the palms on the mat or, for a deeper bend, you can interlace your fingers, extend your elbows, rotate the shoulders underneath the body, and press with the arms on the ground as you push up through the hips. Your body weight should be on your shoulders, and your neck should remain long. Hold for at least 10 breaths, and then return to savasana.
3. Paschimottanasana
From savasana, roll on your right side, and use your hands to prop yourself up to sitting. Extend both legs together in front of you. Keep the feet flexed and engaged, toes pointing up. Make sure you’re sitting on your sit bones. Raise your arms up on an inhalation and elongate your spine (imagine someone is gently pulling you up through the crown of your head). On your exhale, gently hinge forward from the hips and grab your feet. If you find that you hunch when you grab your feet, then grab your ankles or shins instead. Try to keep the chest open, and the shoulders away from the ears. The purpose of the pose is to stretch the back side of the body -- it doesn’t really matter how deep you can fold.
*If you feel pain in the knees, roll a blanket and place it underneath.
4. Bhujangasana
From the previous pose, come to lay on your belly, make a pillow with your hands, and rest your head on them. Stay here for a few breaths. When you are ready to go into cobra, place the hands next to your shoulders, and separate your feet hip width apart. Keep the neck long and the shoulders away from the ears by drawing the shoulder blades towards the spine and down your back. On an inhalation, project your chest forward and begin to lift your torso off the floor, maintaining the shoulders away from the ears -- avoid hunching!
5. Balasana
To come out from cobra, lower your torso first on the mat. Then, keeping your nose close to the mat, bend your knees and slide all the way back into child pose. This is a counter pose for the previous backbend, and it will help release any compression in the back. Make sure you are sitting all the way down onto your heels, and your forehead is on the mat. The arms can be extended like in the picture, or you can relax them alongside your body. If you can’t sit on your heels, you can insert a cushion or a blanket between your heels and hips. Stay here for about a minute.
6. Ardha matsyendrasana
Slowly roll up from your Child pose to find yourself kneeling on your mat. Then, sit on the right side and, keeping your right foot next to your left hip, take your left leg and, bending the knee, place the left foot next to the right knee. Make sure both sit bones are on the mat. Then take your left hand and place it on the mat behind your body. Lift the right arm up, inhale to elongate the spine, and as you exhale twist towards the left leg. You can either hug the left thigh towards yourself, or use the right elbow to press against the left leg as you twist deeper. If you have the space, you can also bind your hands behind your back. Make sure that the spine is straight and you’re not hunching. Also, when in doubt regarding which side to twist towards, remember that your chest should be facing the knee that is up.
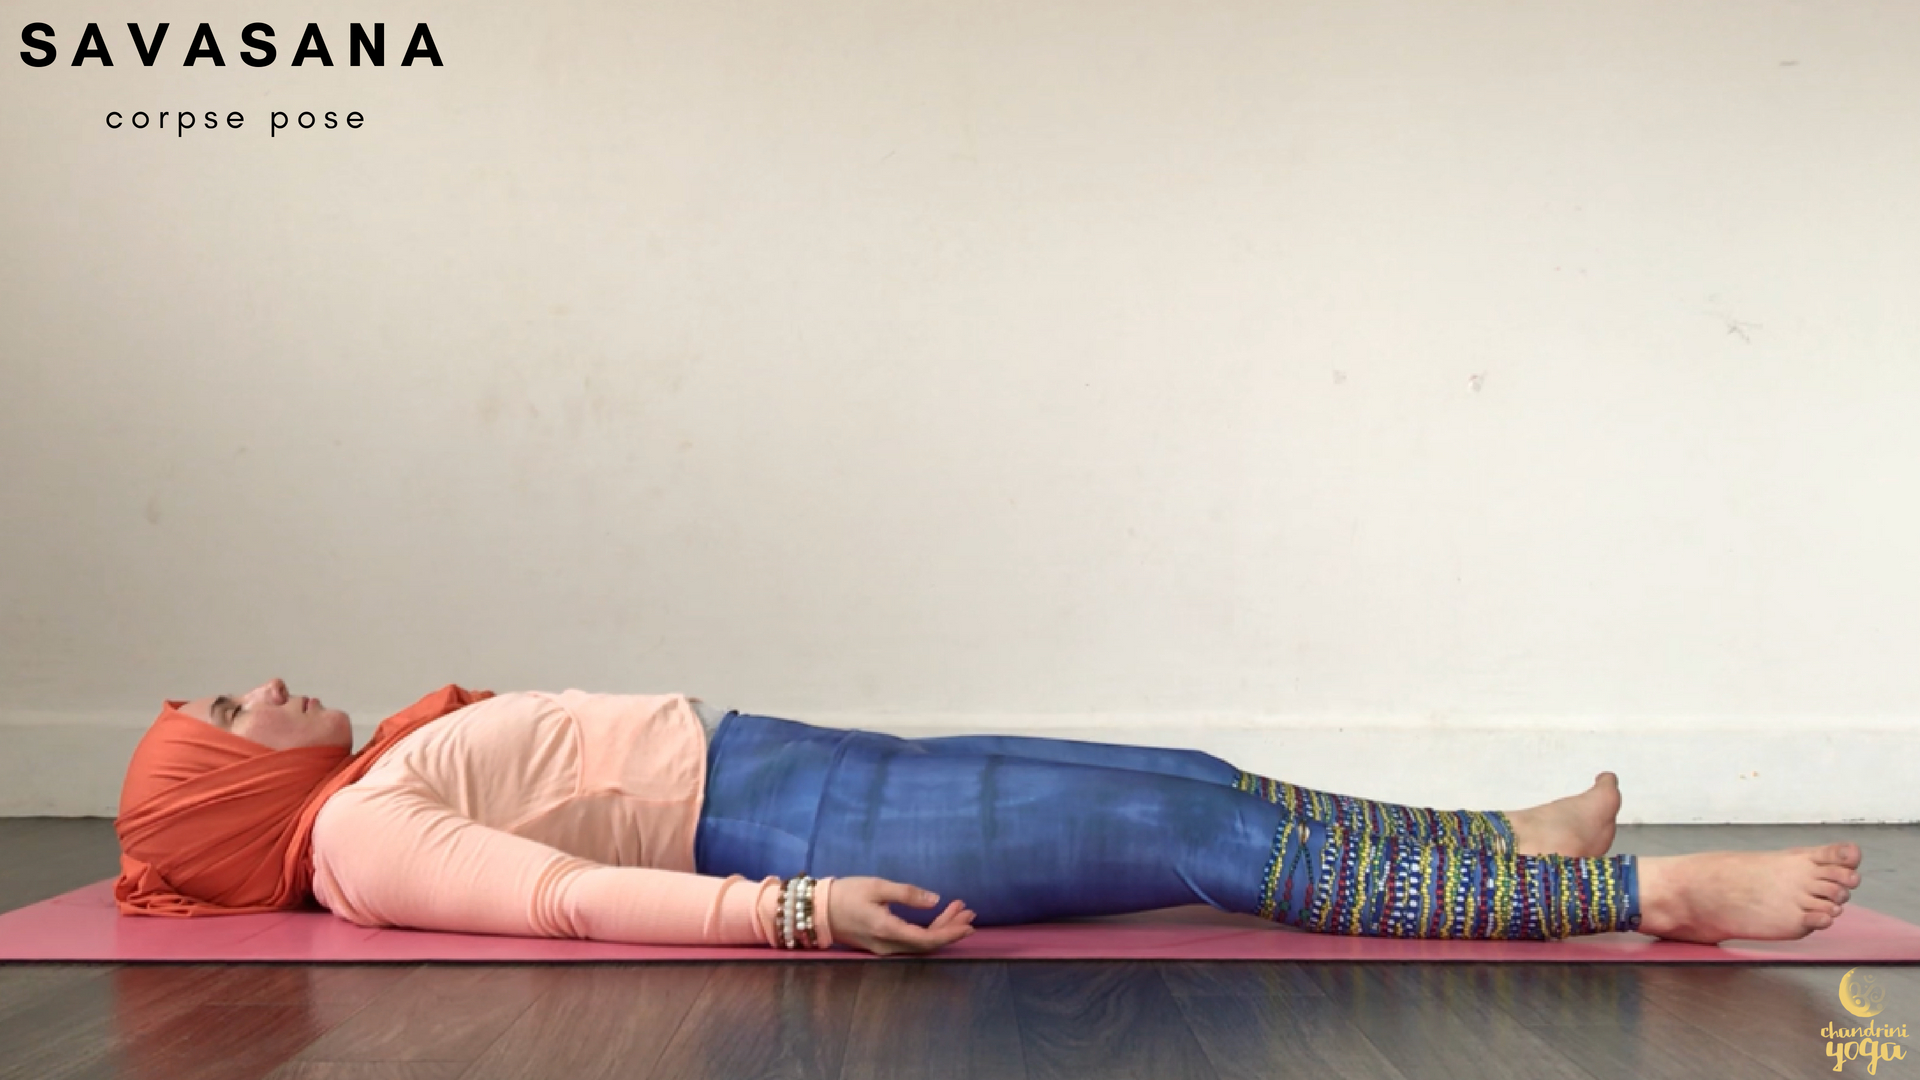
7. Savasana
We’re done! You’ve made it! To practice savasana, everyone’s favorite yet still one of the (if not *the*) most difficult yoga poses, come to lay on your back. Keep your feet somewhere between hip width to mat width apart, and allow them to relax completely, with the toes falling outwards. The arms should also be extended alongside your body, slightly apart from it, with the palms of the hands facing up. Allow the fingers to curl naturally as they completely relax. The idea of savasana is that you lay there as a dead body, which means you must completely let go of your physical body, allowing it to sink into the floor. You must also remain mentally aware or present. There are many savasana techniques out there, so I encourage you to try different ones to see what works for you. You may find that this may also change depending on the mood or how much time you have. You may practice savasana in silent, to the sound of some relaxing music or Tibetan bells, or even to a guided meditation (apps like Insight timer are great for this!). I also have a Guided Savasana up on Etsy if you’d like to practice with me.
I hope that the practice of this sequence helps sustain your fast, if you’re fasting, and increase your digestive fire, in all other situations. Let me know if you try it!


